Installation Instructions
Straight Pin with Mounting Tool
5.2

Following these instructions will ensure that the Expander System is installed correctly and the pivot life is prolonged.
Congratulations! You have purchased a custom engineered solution to the pivot wear problem on your machine. Contact your dealer or Expander before proceeding if you have any questions.
Expander System pivot pin comes with a warranty against lug wear of 10 years / 10 000 hours in operation (whichever comes first) from the date of purchase.
The picture shows a female axle but the principle is the same for other designs.

1 Bolt. 2 Washer. 3 Sleeve. 4 Axle (Pin). 5 Bolt for mounting tool. 6 Stop screws. 7 Mounting tool 8 Allen key screws.
Preparation

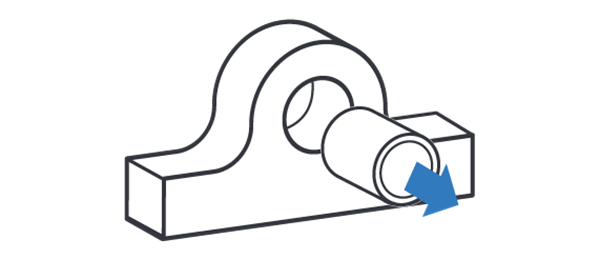
Снимите имеющиеся втулки , чтобы предотвратить износ между втулкой и опорной проушиной.

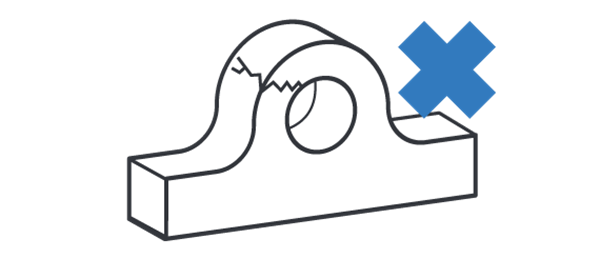
Перед установкой выполните ремонт всех механических повреждений, например, трещин или деформированных проушин.

Удалите неровности внутри отверстий.

Для правильной установки втулок разность между максимальным и минимальным диаметром изношенного отверстия не должна превышать 1,5 мм.
ATTENTION! If the worn lugs diameter at any point is 2 mm (.080”) or more over original lug diameter contact your dealer or Expander System. You will need oversized sleeves.
Installation

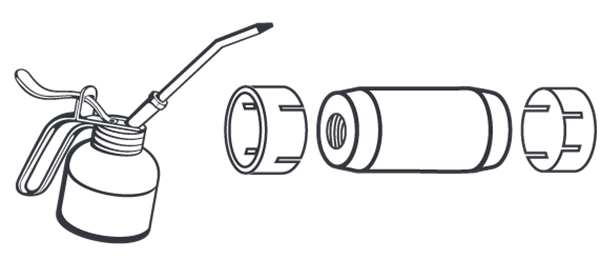
Смажьте втулки и ось имеющейся в наличии смазкой, рекомендуется использовать графитную смазку. Не наносите смазку на резьбу!

ПРИМЕЧАНИЕ! По возможности выходное отверстие масленки должно располагаться под углом 90° к направлению рабочего усилия, чтобы уменьшить концентрацию напряжений на отверстии.

Assemble the mounting tool and bolt for mounting tool using the allen key screws. Insert the axle and position it in the bores. Install the sleeves, then the washers and fasteners. Tighten the fasteners with recommended torque.

Remove the allen key screws and mounting tool. Mount the stop screws.
Torque recommendations

Hex Bolts and Bolts for Mounting Tool
Torques M12-M24 ± 10%, M30... +30/-0%
| M12 | M14 | M16 | M20 | M24 | M30 | M36 | M42 | |
| Nm | 70 | 115 | 175 | 350 | 500 | 600 | 700 | 900 |
| lb-ft | 52 | 85 | 129 | 258 | 369 | 443 | 516 | 664 |

Шестигранные гайки: Стандартная высота
Моменты затяжки M12-M24 ± 10%, M30... +30/-0%
| M12 | M14 | M16 | M20 | M24 | M30 | M36 | M42 | |
| Nm | 65 | 115 | 175 | 250 | 350 | 500 | 600 | 700 |
| lb-ft | 48 | 85 | 129 | 184 | 258 | 369 | 443 | 516 |

Шестигранные гайки: Уменьшенная высота
Все значения моментов затяжки ± 10%
| M12 | - | M16 | M20 | M24 | M30 | - | - | |
| Nm | 60 | - | 125 | 200 | 275 | 350 | - | - |
| lb-ft | 44 | - | 92 | 148 | 203 | 258 | - | - |

Круглые шлицевые гайки
Все значения моментов затяжки ± 10%
| M17 | M25 | M35 | M45 | M55 | M65 | M75 | M85 | |
| Nm | 50 | 120 | 250 | 500 | 600 | 700 | 800 | 900 |
| lb-ft | 37 | 89 | 184 | 369 | 443 | 516 | 590 | 664 |
Final Check

После первоначальной затяжки выполните несколько полных рабочих ходов оборудования и проверьте момент затяжки. Проверьте момент затяжки через 10 часов эксплуатации и 40 часов эксплуатации, а затем проверяйте его в ходе регулярного технического обслуживания, чтобы обеспечить правильную посадку втулок.

Ensure that there is a minimum distance of 0,5mm (0.02”) between the washer and the lug. Ensure that there is a minimum distance of 0,5mm (0.02”) between the bolt for the mounting tool and the lug. ATTENTION! If the washer or bolt for the mounting tool is in contact with the lug, contact your dealer or Expander System.
Dismounting

Для снятия системы Expander выкрутите крепления с обеих сторон и снимите шайбы.

Постучите по оси попеременно с левой и правой стороны, чтобы снять напряжение на втулках (для ударов по оси используйте обрезок трубы и киянку/молоток, чтобы не повредить резьбу). Снимите втулки и ось. Не допускайте повреждений резьбы.
