Installation Instructions
Stepped Pin
5.9

Following these instructions will ensure that the Expander System is installed correctly and the pivot life is prolonged.
Congratulations! You have purchased a custom engineered solution to the pivot wear problem on your machine. Contact your dealer or Expander before proceeding if you have any questions.
Expander System pivot pin comes with a warranty against lug wear of 10 years / 10 000 hours in operation (whichever comes first) from the date of purchase.
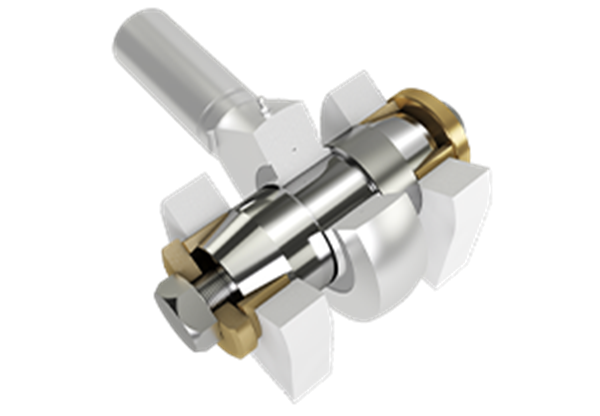
The picture shows a female axle but the principle is the same for other designs.

1 Bolt. 2 Washer. 3 Sleeve. 4 Axle (Pin).
Preparation

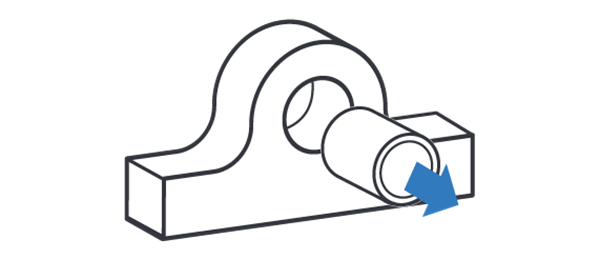
ピン穴にブッシュ等が取り付けられている場合は、全て 事前に除去してください。摩耗の原因となります。

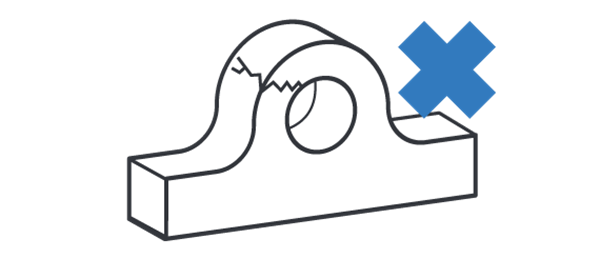
ラグ部に摩耗による変形、割れ等が見られる場合は取付前 に修繕をお願いいたします。

穴の表面が荒れている場合は均一になるよう加工し、最高 摩耗点と最低摩耗点の差を1.5mm以内に収めてください。

万が一、前述の最高摩耗点と最低摩耗点の差が1.5mmを 超えている場合、事前にお問合せをお願いいたします。
ATTENTION! If the worn lugs diameter at any point is 2 mm (.080”) or more over original lug diameter contact your dealer or Expander System. You will need oversized sleeves.
Installation

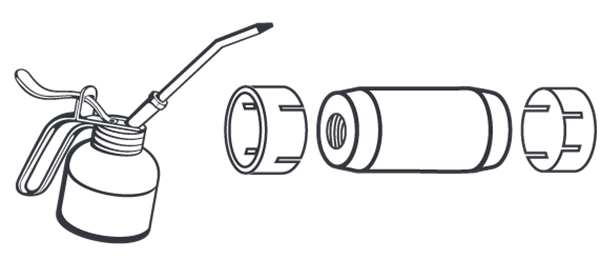
軸部の焼き付き防止のため、グリースは グラファイト系のものをお薦めします。 ねじ部には絶対にグリースを塗布しない でください

ご注意!ピンのグリース穴部は 強度が落ちるため応力 方向から90度横に逸ら せて取り付け願います。

スペーサーは常に、テーパー付ピンの段付き部とは 反対側に設置します。元々スペーサーが付いている 場合は、そのままエクスパンダーを取り付けます。エ クスパンダーにスペーサーが同梱されている場合 は、スペーサーの傾斜部がベアリング側に向くよう 設置し、ラグ部との間に来るようにしてください。

Insert the axle. Install the sleeve, washer and fastener on the side with small axle diameter. Press on the axle end with large diameter until the axial play is eliminated. Tighten the fastener with recommended torque.

次に、段付部(ピン径が大きな 方)側に拡張スリーブと専用ワ ッシャー、そしてボルトを取り 付け、裏面にある既定トルクで 締め付けます。
Torque recommendations

ボルトでの推奨締付トルク
トルク誤差±10%想定での値
| M12 | M14 | M16 | M20 | M24 | M30 | M36 | M42 | |
| Nm | 70 | 115 | 175 | 350 | 500 | 600 | 700 | 900 |
| lb-ft | 52 | 85 | 129 | 258 | 369 | 443 | 516 | 664 |

標準ナットでの推奨締付トルク
トルク誤差±10%想定での値
| M12 | M14 | M16 | M20 | M24 | M30 | M36 | M42 | |
| Nm | 65 | 115 | 175 | 250 | 350 | 500 | 600 | 700 |
| lb-ft | 48 | 85 | 129 | 184 | 258 | 369 | 443 | 516 |

薄型ナットでの推奨締付トルク
トルク誤差±10%想定での値
| M12 | - | M16 | M20 | M24 | M30 | - | - | |
| Nm | 60 | - | 125 | 200 | 275 | 350 | - | - |
| lb-ft | 44 | - | 92 | 148 | 203 | 258 | - | - |

スパナナットでの推奨締付トルク
トルク誤差±10%想定での値
| M17 | M25 | M35 | M45 | M55 | M65 | M75 | M85 | |
| Nm | 50 | 120 | 250 | 500 | 600 | 700 | 800 | 900 |
| lb-ft | 37 | 89 | 184 | 369 | 443 | 516 | 590 | 664 |
Final Check

一旦最初の締付作業を行った後、マシン可動部を 可動域いっぱいまで何度か動かし、増し締めを行 ってください。

作業完了後、テンションワッシャーとラグ部の間に0.5mm 以上のクリアランスがあることをご確認ください。
